As a long-time Neovim user, I’ve always been looking for the most convenient way to review code in Neovim. After all, a Neovim setup you configured yourself is just too comfortable to leave. This post shares how I do it today, and hopefully gets more people to join the Neovim side!
My current setup:
- Wezterm with tmux
- Neovim (review with the codecompanion plugin)
- worktrunk: worktree CLI
How I got here#
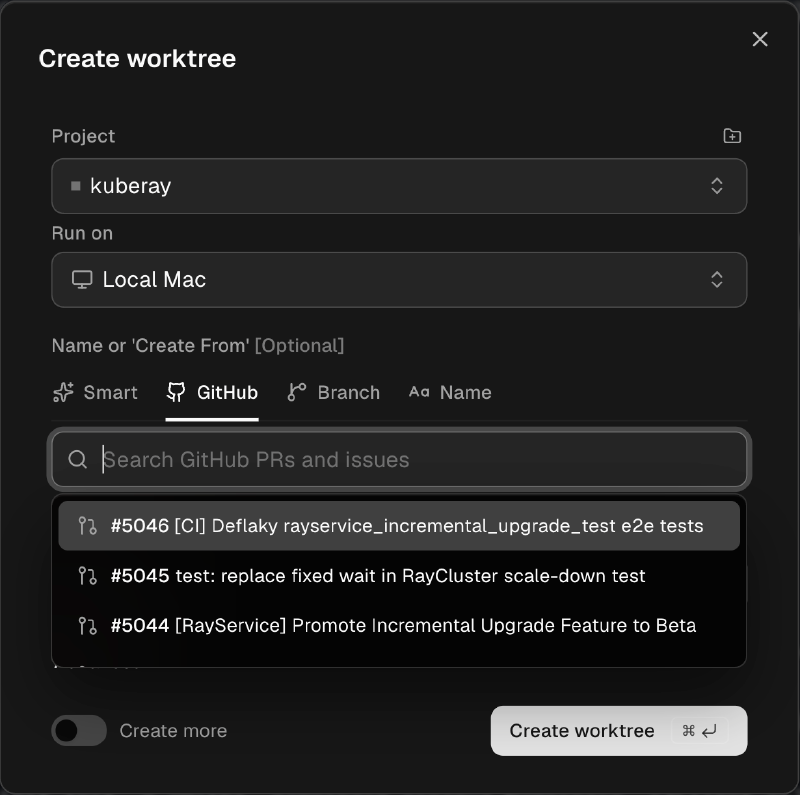
My current workflow is inspired by orca, an ADE (Agent Development Environment). There are a few features I really like:
- Open multiple worktrees quickly
The most useful thing in orca for me is how fast you can open and manage multiple worktrees: paste a PR link and it creates a git worktree and opens it as its own workspace. A workspace is a lot like a terminal session: you can open terminal tabs / claude tabs, and split windows. This is a big help for maintainers who review many PRs, since you can have several open at the same time, running in parallel, and switch between them freely.
- View the PR diff
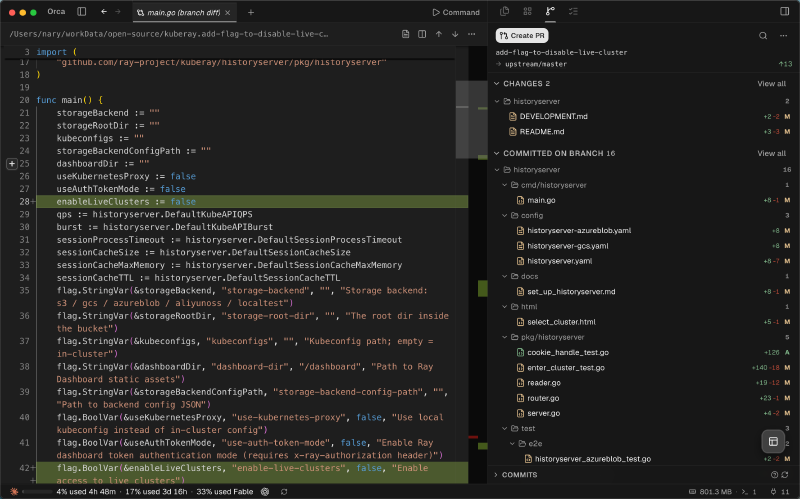
This is just the diff between the current branch and main / master. With it you don’t need to bounce back and forth to GitHub to read the diff, you can do it all in one window.
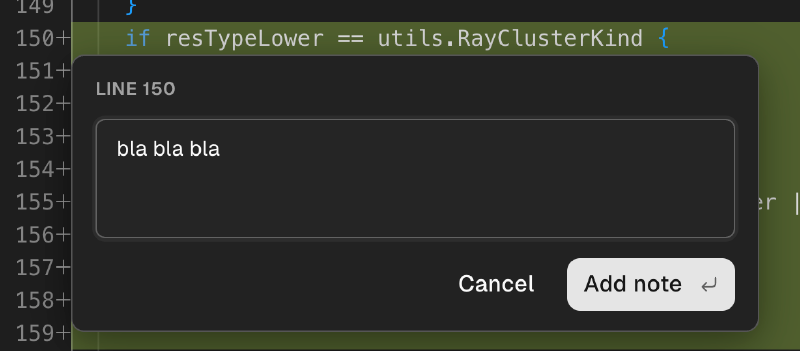
- Leave comments for AI on the diff page
You can open the diff page and leave comments with questions for the AI, then send them one at a time to the current AI chat / a new chat, or send all comments at once.
Of course orca still has some gaps: there seems to be no editor support yet, so no go to definition (I saw issues on GitHub asking for vscode support and so on). Right now I open a terminal tab with nvim and review alongside with diffview, then jump to the matching orca diff when I need to ask the AI (a bit annoying).
My current setup#
Here’s how my setup gets the three orca features above:
1. Open Multiple Worktrees Quickly#
This is done with worktrunk. Usage is very simple. Say I want to switch to the branch of PR 1234 to review it:
wt switch pr:1234It pulls the PR, creates a worktree, and switches to it. When the review is done, wt remove in the same
folder removes the worktree. wt list shows all current worktrees:

wt list shows all current worktreesWorktrunk only solves switching worktrees quickly. So how do you open several worktrees at the same time? That’s where tmux sessions come in. I won’t go into tmux sessions in detail; think of them as multiple terminal workspaces, each with its own tabs. For me, reviewing several PRs while also writing code, this is extremely useful.
In tmux I have a shortcut <leader> + N to quickly create a new session:
bind-key N command-prompt -p "new session:" "new-session -s '%%'"And <leader> + s opens the sessions list:
bind-key s choose-tree -Zs -O name2. View the PR diff in Nvim#
I think this is a really practical feature for reviewers: quickly read the diff and jump to files. In nvim I use Diffview.nvim, which can:
- Show the diff of local changes
- Show the diff between two commits
- Handle merge conflicts (it has a JetBrains-style three-way view, which I think is great)
- Show the commit history and diff of a single file
To view a PR diff we use point 2 above, but copying the current commit and pasting it into the command every
time takes too long, so I added a keymap <leader> + gd
(config)
to open the PR diff quickly.
Note: the color theme that fits this plugin best is tokyonight. See this discussion for how to set it up (issue comment), or take a look at my config.
3. Using AI in Nvim#
This part isn’t limited to “leave comments for AI on the diff page” above. It’s about how I use AI in nvim in general (leaving comments is covered too 😄).
The tool I use is codecompanion.nvim. It toggles a vertical
split window in nvim as the place to talk to the AI. That window is actually just a markdown file, so you can
use vim motions in it. To make it easy to select a region and ask the AI about it, I added a <leader> + cs
keymap in my
config.
It sends the selected lines to the code companion chat as @filename:line_number, which makes the whole flow
much smoother.
On top of that, code companion recently added a code review feature, which works really well together with Diffview.nvim. Diffview already takes two windows side by side, so opening another AI chat window gets crowded. Instead, we can use the code review feature to leave comments, then send them all at once to ask the AI or have it make the changes.
If the side window feels too small, you can move it to a new tab with nvim’s built-in Ctrl-w + T. It’s still the same buffer, so the content stays in sync.
I have a few more code companion settings, like listing all comments in the quickfix list. See my config for more settings.
Wrapping up#
That’s a quick tour. Feel free to check out my nvim and tmux configs.
btw, the latest code companion release adds herdr support. Maybe I’ll switch over and give it a try 😄